Tekton Task
Video
Intro
What is Tekton
Tekton is a Kubernetes native CI/CD solution. What that means from a practical sense is that it is a set of tools that allow you to build, deploy, and test your applications on Kubernetes using the resources provided by your Kubernetes Cluster.
Tekton is made up of two main components: tasks and pipelines.
- Tasks are the basic building blocks of Tekton. They are Kubernetes resources that define a single unit of work. A task usually consist of running a shell script to do anything from cloning a Git repository, to running unit test, to building a Docker image.
- Pipelines are a collection of tasks that are run in a specific order. Pipelines can be used to automate complex CI/CD workflows
The actual running instance of of both of these components are also captured with the Kubernetes CRDs TaskRun and PipelineRun.
In this lab we will be taking a look at creating and running a Tekton Task, and in the next lab we will look at putting together a set of task in order to run a Tekton pipeline.
Lab
Prerequisites
- OpenShift Cluster 4.X with Openshift Pipeline installed
Optional
- tkn cli
- If using the CLI with Openshift it is highly recommended you download the tkn cli through the Openshift console to insure you have the correct version. Cli can be found under
'?' -> Command Line Tools
- If using the CLI with Openshift it is highly recommended you download the tkn cli through the Openshift console to insure you have the correct version. Cli can be found under
Note
This lab was written using Openshift 4.11 but you should be able to follow most of it using base Kubernetes with Tekton Pipelines installed as well.
Kubernetes Setup
To begin, we need to log into our Kubernetes cluster and establish a namespace. I've named mine pipeline-example.
Create a task
Now lets create a basic Tekton Task, the task below will download code from a git repository. In order to install this task copy the following code into a task.yml file then run either oc apply -f task.yml or kubctl apply -f task.yml
apiVersion: tekton.dev/v1
kind: Task
metadata:
  name: git-clone-task
spec:
  params:
    - name: repo-url
      description: The URL of the Git repository to clone.
      type: string
    - name: destination-path
      description: The local destination path for the cloned repository.
      type: string
      default: '.'
  results:
    - description: The precise commit SHA that was fetched by this Task.
      name: commit
  steps:
    - name: git-clone
      image: alpine/git
      script: |
        # Clone Git Repo into `output` workspace
        git clone $(inputs.params.repo-url) $(workspaces.output.path)/$(inputs.params.destination-path)
        cd $(workspaces.output.path)

        #Save Git Commit's Short Sha and push it to the results
        RESULT_SHA="$(git rev-parse HEAD)"
        printf "%s" "${RESULT_SHA}" > "$(results.commit.path)"

        # Just so we print out a fun finish message
        git checkout first-task-run
        cat hello-world.txt
  workspaces:
    - description: The git repo will be cloned onto the Volume Backing this Workspace.
      name: output
Now that we have created our Tekton Task lets break it down:
Params
Params section contains a set of parameters that can be passed into our task. In this case our task is asking for a git repository with the git-repo param and a destination folder with the destination-path param, which will default to '.' if not provided
These parameters can be referred to inside of the script block using the notation $(inputs.params.<PARAMETER NAME>) (i.e. $(inputs.params.repo-url))
Results
Results enable us to pass information that can be viewed by our users, or used in the pipeline's future task.
Copying values to the file specified with the expression $(results.<RESULT NAME>.path), is how we store our results.
Steps
Steps refer to an array of container images, each of which are executing a command or script.
The most basic step contains a:
namedescribing what the step doesimagedescribing the container in which the step is runscript/commandthe logic you are attempting to accomplish with this task
TIP
Steps can also contain other information about the underlying pod such as resource request and limits.
Workspace
Workspaces allow us to connect a volume to our task. When running a pipeline this will allow us to transfer large amounts of data (for instance an entire git repository) from one task to another.
Workspaces can contain a custom mountPath for the pod but if not included the path can be retrieve with the expression $(workspaces.output.path), which is where we clone our repository in the example above.
Recommended
It is recommended that a task contain only a single writable workspace. Using folder structures to save multiple pieces of data if required.
Details
More info about the other builtin variables that can be accessed inside of tekton task can be found here
Run Task
Now lets run our task.A running task is just another Kubernetes CRD called a TaskRun that generally references an existing Task, and contains a set of input parameters. So to start running our task copy the following code into a task-run.yml file then run either oc apply -f task-run.yml or kubctl apply -f task-run.yml
apiVersion: tekton.dev/v1
kind: TaskRun
metadata:
  generateName: git-clone-task-run-
spec:
  taskRef:
    name: git-clone-task
  params:
    - name: repo-url
      value: https://github.com/redhat-appdev-practice/tekton-lab.git
  workspaces:
    - name: output
      emptyDir: {}
TIP
Our Task could also have been started with tkn cli using the command tkn task start git-clone-task -p repo-url=https://github.com/redhat-appdev-practice/tekton-lab.git -w name=output,emptyDir= --showlog
The TaskRun references our task using the taskRef spec. It passes in an example git repo using the repo-url parameter and an empty directory for our workspace.
It also uses the the generateName in the meta data which will append a random alphanumeric code to the end of the name, this allows us to deploy multiple times with the same yaml and not have to worry about naming conflicts.
Using Persistent Storage
Normally you would want to connect a PCV to the workspace instead of an empty directory. Otherwise anything saved in that workspace will be lost once the task is completed.
Viewing Task Run Information
The task information can be viewed by either using the Openshift UI, or the tkn cli.
Openshift UI
In the Openshift UI the Task can be found under Administrator -> Pipelines -> Task and the Task Run can be viewed with the TaskRuns tab inside of the task view.
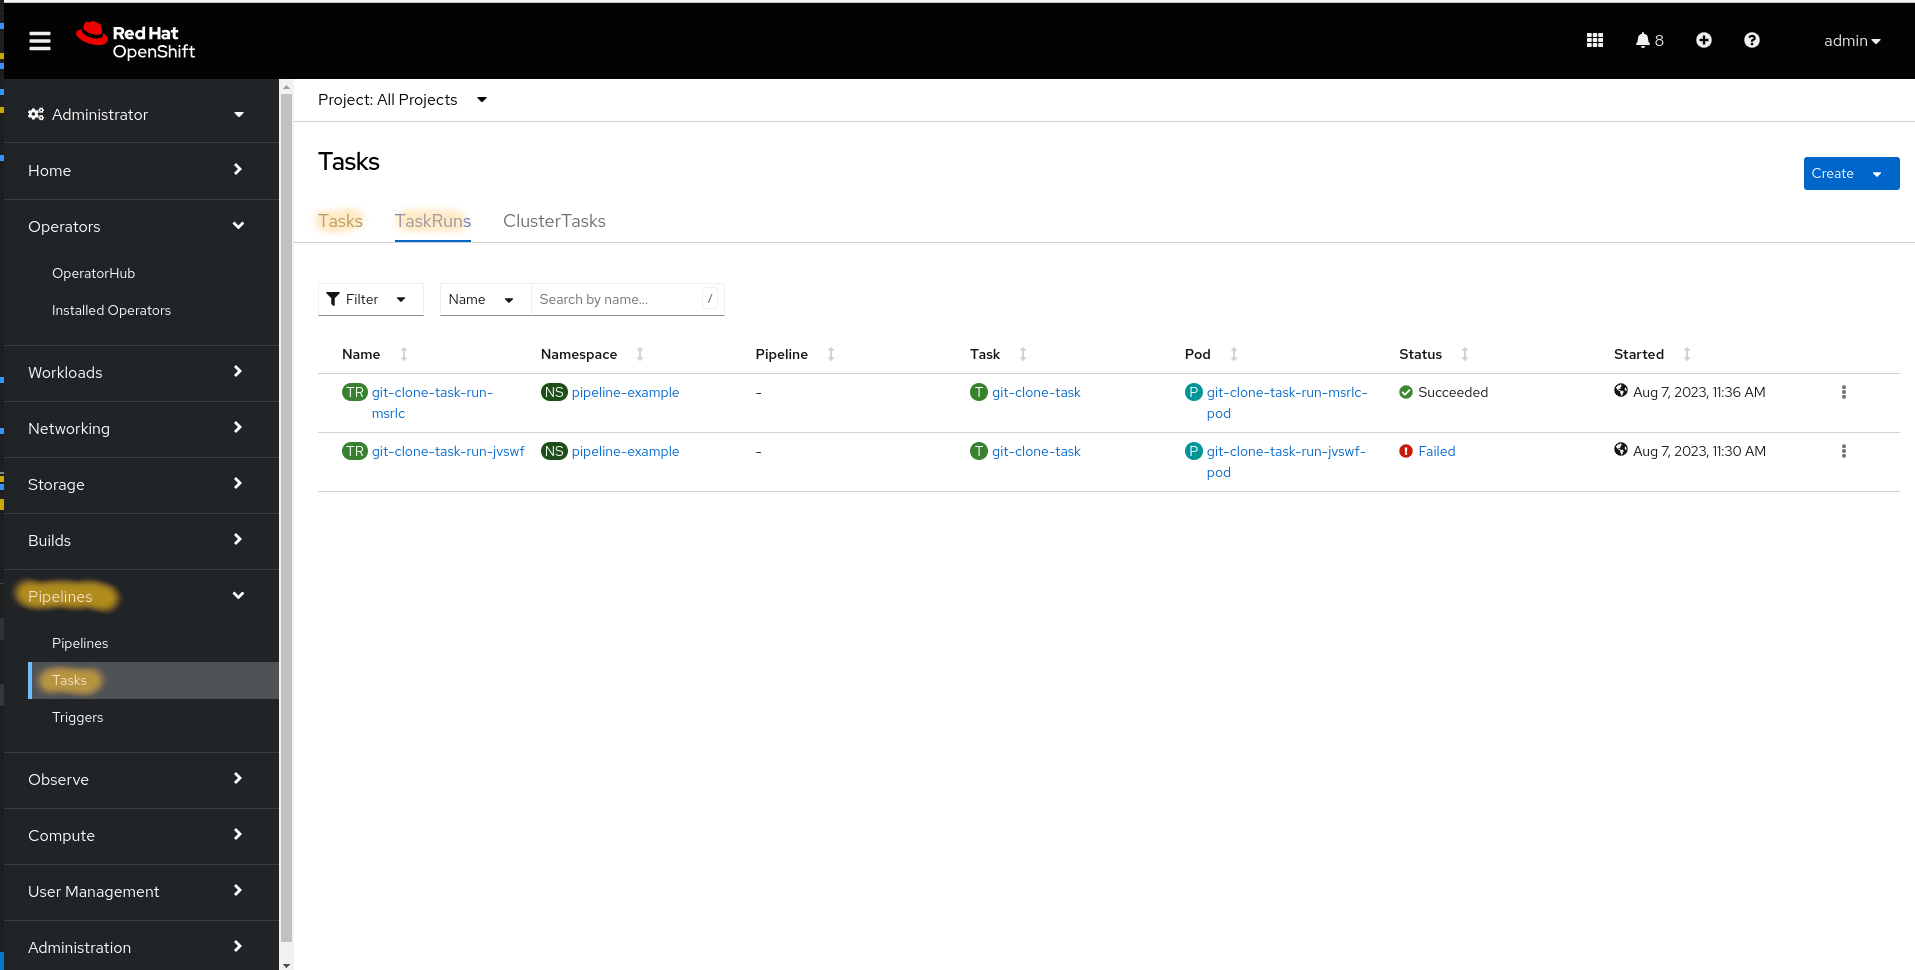
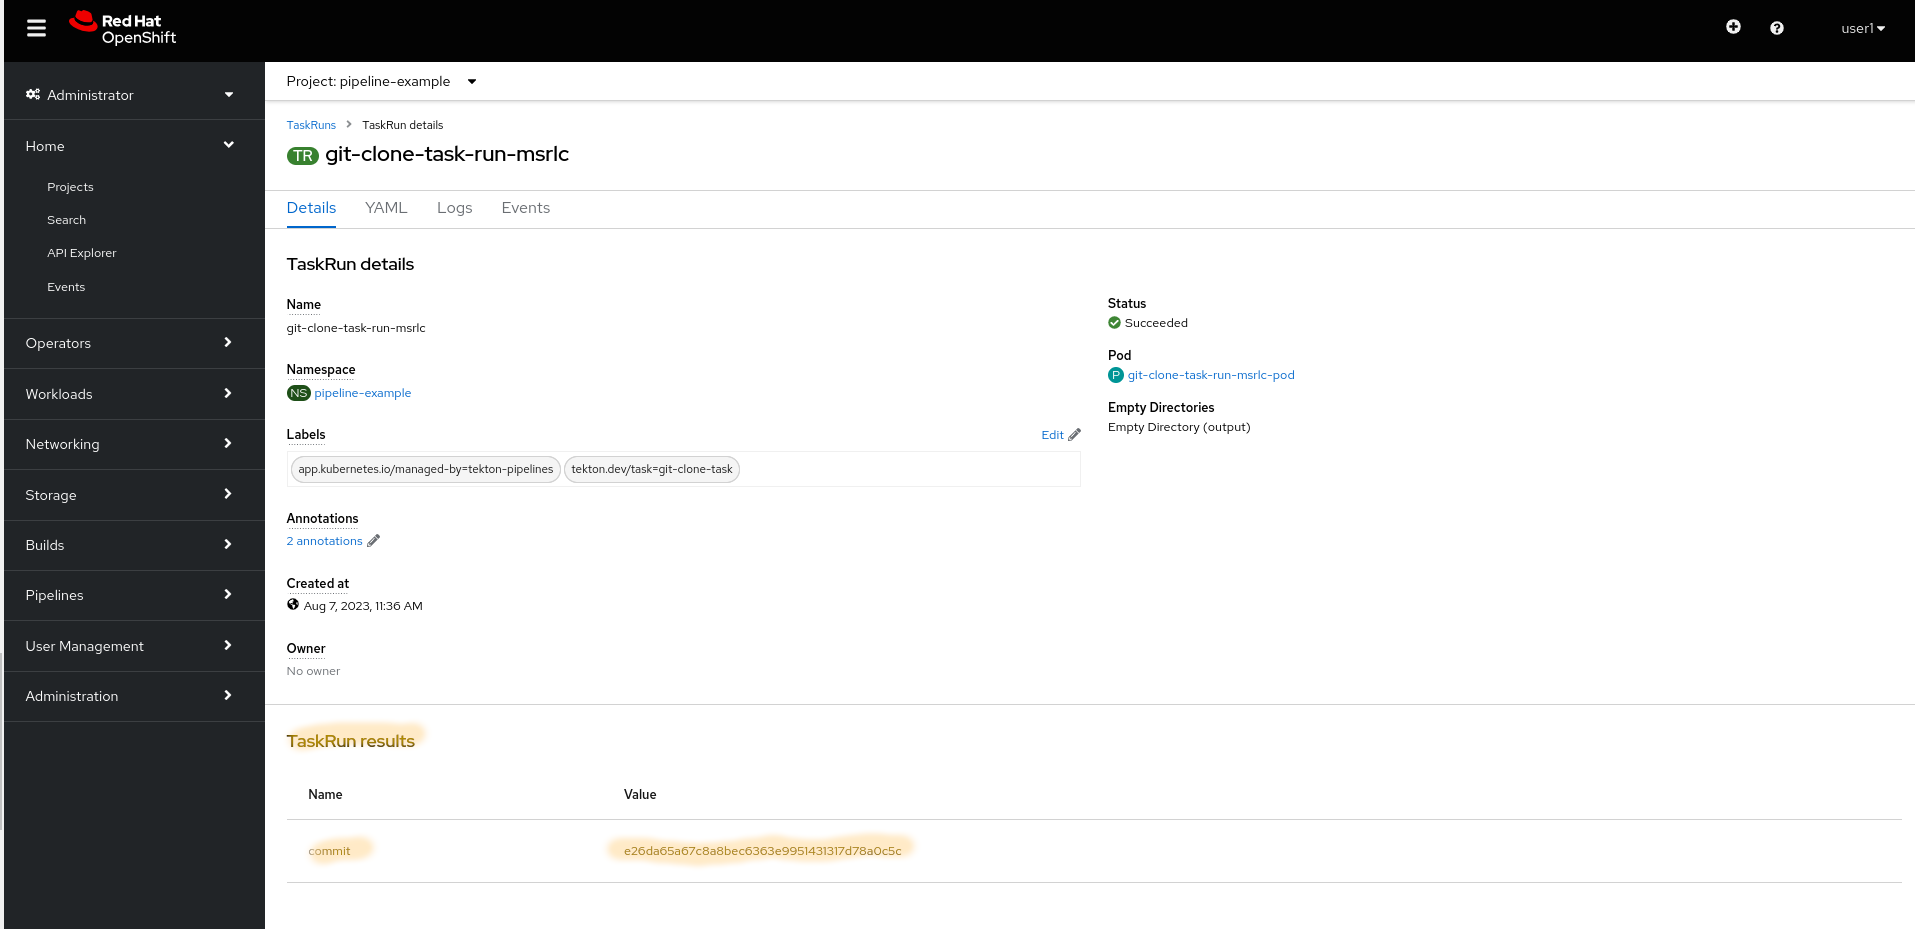
From this view we can see if the task was run successfully and get a link to the underlying pod used to run the task. If we click inside of the task run we can get more information as seen below, such as TaskRun results. While knowing the Git commit sha is not too useful running a single task, if we were running a full pipeline the task result here could be used as the input of a future task (such as using the commit for the image tag when doing a docker build).
tkn Cli
To view the same information using the tkn cli, first use the tkn taskrun list command to get the TaskRun name. Then use the tkn taskrun describe <TASK NAME> to get info about the task such as params, results, workspace info etc. And to view log information use the tkn taskrun log <TASK NAME>.
Version Check
Detail results may not be correct if the cli and installed tekton versions do not match.
Cluster Task
You may have noticed the ClusterTasks tab when viewing our Task information inside the Openshift UI. ClusterTask (as you may expect) work the exact same way as task but are not tied to a specific namespace, rather they are available cluster wide.
When you install the Openshift Pipeline operator it comes with a basic set of ClusterTask. These task cover a range of common operations that may be performed with Tekton, such as s2i builds, image copies, git clones, etc. It is important to note that using these task directly is not recommended for the long term as they may change or be removed with future versions. Rather if you would like to use one of these task it is recommended you make a copy in your source control, and deploy a new version of that task.
RBAC
One last thing to note is when the Pipeline Operator is installed a service account name pipeline is created in every namespace. This is the default service account in which all of the task are run. Meaning any required credentials such as those to fetch git repositories or docker images should be attached to the pipeline service account, or the custom service account specified under the TaskRun/PipelineRun.
Adding Credentials
Credential secrets that are added to the service account require an annotation in order to allow tekton to use that credential when fetching a resource such as a source repository or docker image.
Details
Vanilla Tekton uses the default service account by default, rather than the pipeline service account.
Extra Credit
TaskRun's do not actually require an existing Task but can have the Task information specified directly in the run using the taskSpec field. For an extra challenge modify the task above to run with just a single TaskRun object (not referencing an existing task).
Wrap Up
In this lab we went over creating and running a Task using Tekton. While this is a perfectly valid way in which to use Tetkon most teams will also require the ability to run multiple task in a sequence which is where Pipelines come along. In the next lab we will take a look at using pipelines to run a series of Tekton task.